12-Point Checklist For Auxiliary Suspension Maintenance

Auxiliary suspensions are fairly straightforward in concept - remaining in a raised position when not needed and dropping down to the road to support a heavy load - but a lot of sophisticated engineering goes into the steerable and non-steerable suspensions that Link manufactures. The first thing maintenance professionals notice when examining our auxiliary suspensions is how sturdy they are built. In fact, I was speaking with a gentleman just the other day who just had his first Link steerable auxiliary suspension installed, and he was very impressed with how large and robust the bushings and other components were compared with other suspensions he was more familiar with.
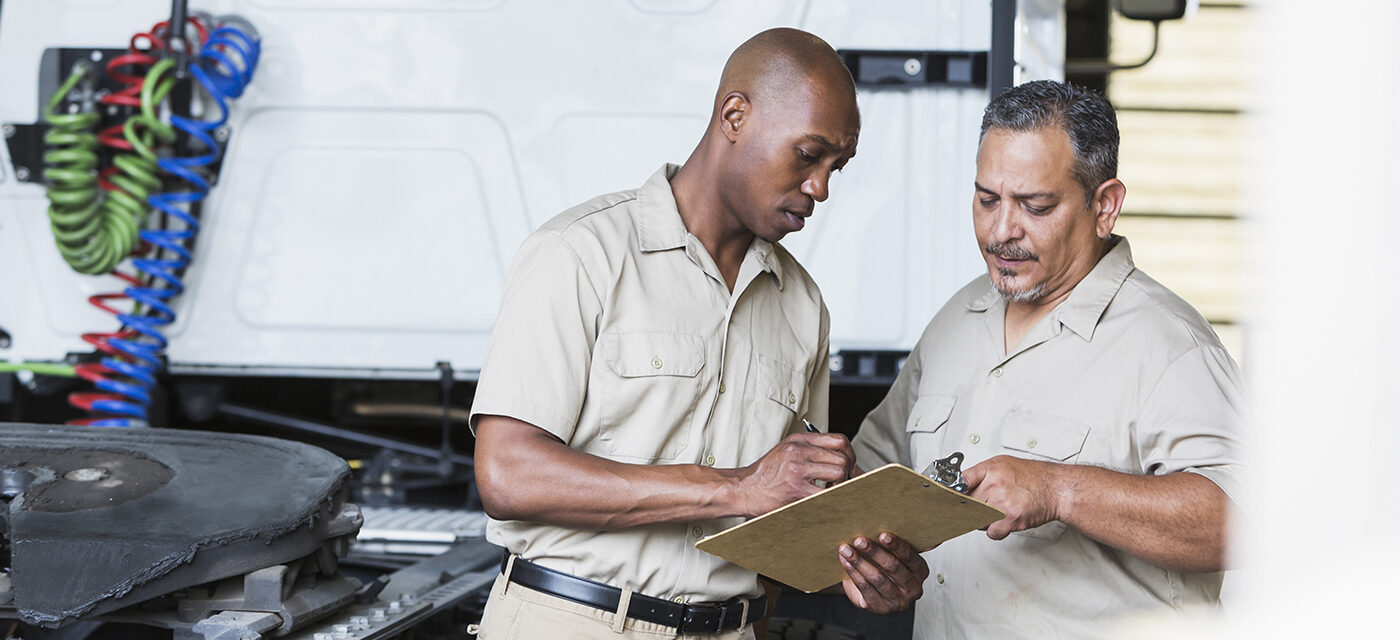
While we take great pride in the reliability and durability of our auxiliary suspensions, they need to be properly inspected every time you do a complete service job on the vehicle to keep them operating at peak performance. And while steerable auxiliary suspensions are a little more complicated than non-steerable suspensions due to having more moving parts, the following 12-point checklist should keep either type in good working condition.
Auxiliary Suspension Maintenance Checklist
- Frame Bracket Mounts. Make sure it's mounted correctly to the frame of the truck and check that the bolts are tight and
spaced correctly. - Front Hanger Connection to Frame Bracket. Ensure the bolts are torqued correctly.
- Arm Bushings. These need to be inspected on a regular basis to confirm they are in good shape and the shoulders aren't worn down or loose. Also inspect the bolts to ensure they haven't lost their torque or are sliding around in the front or rear hangers.
- Bushings and Bolts Connecting to Axle. Inspect these to ensure they are in good shape and not worn.
- Steering Stabilizers. These need to be replaced on a regular basis. Put the suspension in the up position and try to turn the tire to the left or right - it should remain tight and be hard to turn. If you can turn the wheel relatively easily - or if the tire is facing left or right in the up position - it's time to replace them.
- End Play on the Hub. Make sure bearings are tight and adjusted correctly. It should be between 2-5 thousandths of an inch at the hub.
- King Pin Play. Lift up on the wheel to make sure it's tight and there is no vertical movement.
- Tie Rod and Castle Nuts. These should all be tight and torqued appropriately.
- Alignment. It should be checked every time the front-end alignment is inspected.
- Ride Shocks. This is an option on larger and newer models and should be monitored and replaced just like the shocks on your primary suspension.
- Air Kits. While there isn't too much maintenance you can do yourself, we do recommend draining the water out of the air kit on a regular basis.
- Tires. Your tires should wear evenly. If it's wearing on the outside, this is usually a sign of poor toe setting - and it needs to be realigned or the tire will become inoperable. If the center rib is wearing faster than the rest of the tire, there is usually too much air pressure or not enough load on the suspension. Flat spotting occurs when there isn't enough weight, causing the tire to "hop" down the road when the brakes are applied.
Following this auxiliary suspension checklist - along with making sure oil is in the hubs, brakes are good and tire conditions are acceptable when the driver makes his pre-trip inspection - will help keep your auxiliary suspensions in proper working order. However, if you ever have any issues, give us a call and one of our experts will be happy to help you.
Blog Author
Jimmy Winslett
Senior Account Manager